Index Exporter |


|
Index Exporter |
|
The index export tool is used to create an index that can be imported by a new Mail Manager user, to considerably shortening the initial time taken to index their locations.
Note: The import process will only occur if there is no Index folder in the user's local profile.
How to export locations from an existing index:
| 1. | Identify a user that has a suitable index for exporting locations |
| 2. | On the user's machine run the MailManager.IndexExporter.exe that can be found in the Mail Manager installation folder e.g. C:\Program Files\Mail Manager\x64 or %localappdata%\Mail Manager\Program Files\x64 The following window will appear: 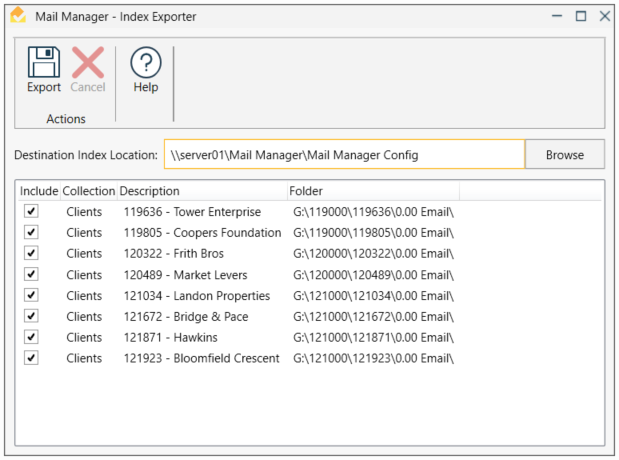 |
| 3. | Select the required locations to export |
| 4. | Browse to the folder where the exported index will be saved (only local and network folders are supported) |
| 5. | From the ribbon select Export |
How to configure the importing of an exported index:
| 1. | Using Notepad, open the file called: AdminEmailFiling.cfg found in the Shared Configuration Folder |
| 2. | Add the following text to a new line: #IndexImportLocation= |
| 3. | Append the exported folder path e.g. IndexImportLocation=\\server01\Mail Manager\Mail Manager Config |
| 4. | Save and exit the file |
| 5. | Open the Admin Preferences window and review the refresh and lock settings in all sections. |
| 6. | Select OK |
Note:
Only after the import has completed will the search window show any results.
Locations of unloaded collections will not be imported
|
To simulate a new user and import a new index delete the existing index i.e.
|