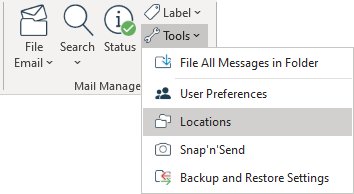
| 1. | Select the Locations button on the main Outlook window |
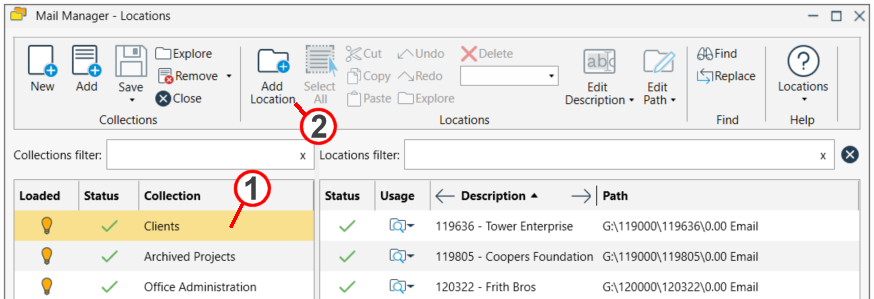
| 2. | Select the collection that you want to add a location to and then select the Add Location button: |
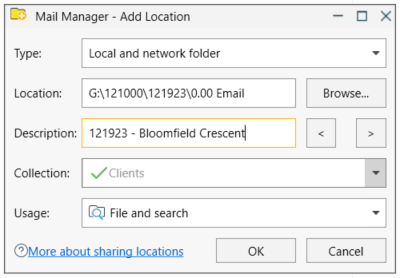
| 3. | The Add Location window will appear: |
| 4. | Select the type of location to be added |
| 5. | Use the Browse button to select the required folder or paste in the URL or path |
| 6. | Enter a suitable description for the location. |
|
Use the < and > buttons to use the folder names as the description. The description can be updated at any time via the Locations tool. |

| 7. | If required change the Usage. The default is File and Search. If the Search option is selected the location won't appear when filing. |
| 8. | Select OK |
Also see: