Exchange Online Public Folder Migration to SharePoint (Preview)
Overview
Used to batch file emails from Exchange Online public folders directly to SharePoint filing locations.
Note: Requires a Windows PC with Mail Manager installed and approval of the Mail Manager EWS app
Prerequisite
-
Ensure the migration tool is enabled by including the following variable in your EmailFiling.cfg
EnableExchangeMigration=1
-
Share locations with mobile devices must be enabled via the User Preferences > Microsoft 365
In Use
How to batch file a public folder to SharePoint
-
Add and approve the Mail Manager EWS app via your Azure Active Directory admin center portal Approve now
-
Identify a PC with Mail Manager installed that can be used for the batch filing.
-
On the machine run the MailManager.BatchCloudFiler.exe that can be found in the Mail Manager installation folder e.g.
C:\Program Files\Mail Manager\x64
or
%localappdata%\Mail Manager\Program Files\x64
The following window will appear
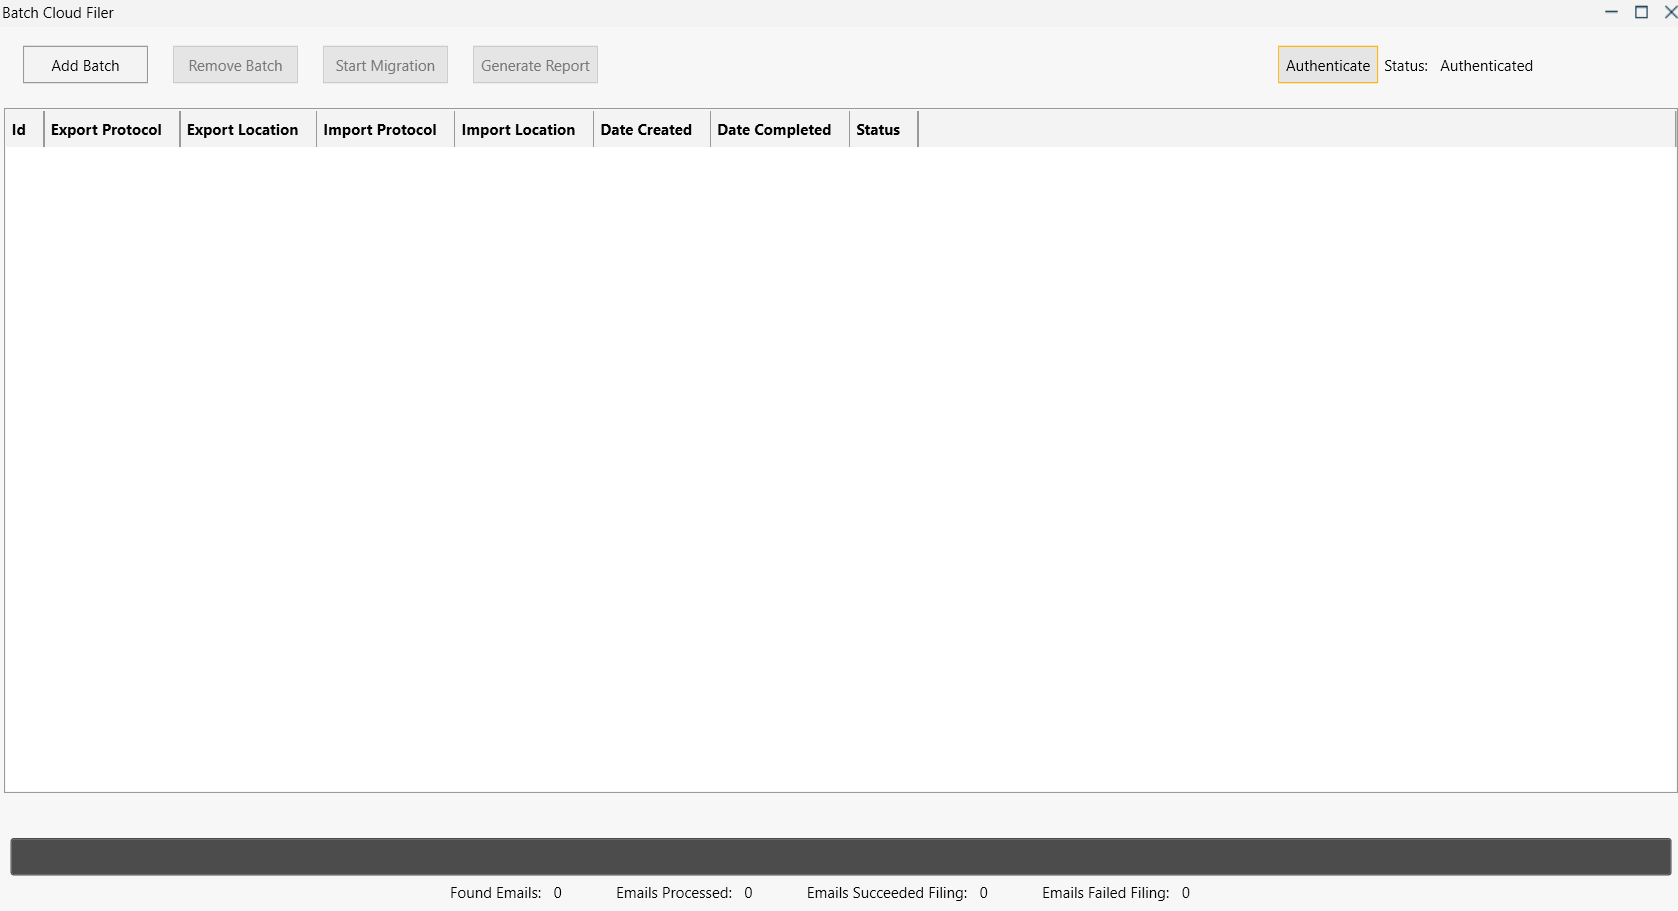
-
Select Authenticate and enter your Microsoft 365 credentials
-
Select Add Batch the following window will appear
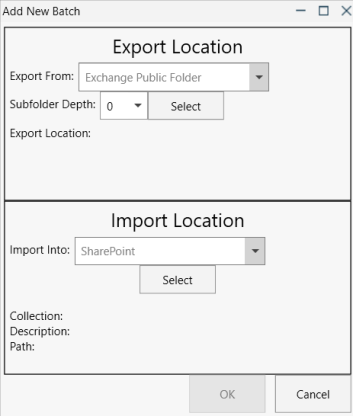
-
Select the public folder to export
-
Choose the Sub-folder Depth of the folder to be exported, then press the Select button
-
Choose the required folder to export
-
-
Choose the SharePoint location where the emails will be migrated to, then select OK
-
To add multiple batches
-
Choose a batch and select Start Migration. The selected batch will begin copying emails to the chosen SharePoint location
-
Progress details are displayed at the bottom of the window
-
When the batch is complete another batch can be started
-
Select Generate Report to see a summary and details of a batch
-
Our tests indicate that is takes an average of 1.5 seconds to file each email e.g. 10 hours for 24,000 emails.