Per-machine installer |


|
Per-machine installer |
|
| 1. | Ensure the prerequisites will be satisfied |
| 2. | Download the Per-machine installer from the Mail Manager website |
| 3. | Double-click on the downloaded installer file (.msi) and follow the installation prompts |
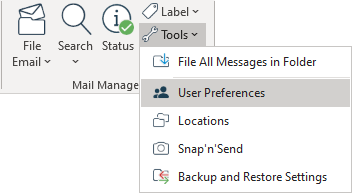
| 4. | Once installed it can be configured to suit your requirements via the Mail Manager toolbar or ribbon e.g. Tools > User preferences options |
| 1. | After the trial period has expired you will need to licence the software or un-install Mail Manager via Windows Apps and Features. How to licence the software. |
Perform a single 'Per-machine' installation (see above)
| 1. | Open the MSI configuration tool, called MsiConfigure.exe located in: C:\Program Files\Mail Manager\Support the following window will appear: 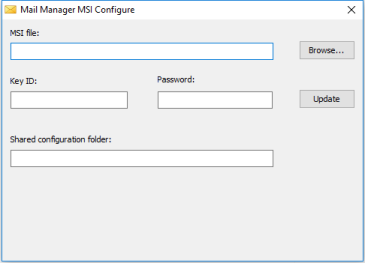 |
| 2. | Enter the path or browse to the downloaded installer (.msi file) |
| 3. | Enter the licence activation details emailed to you after purchase. Note the password is case-sensitive |
| 4. | Enter the path to the "Shared Configuration Folder" |
| 5. | Select the Update button to save configuration details to the MSI file Alternatively the installer can be deployed using command line options without having to pre-configure the installer. |
|
The path to the "Shared Configuration Folder" entered above is stored in the PC's Windows registry e.g. |
Also see:
Create a shared configuration folder